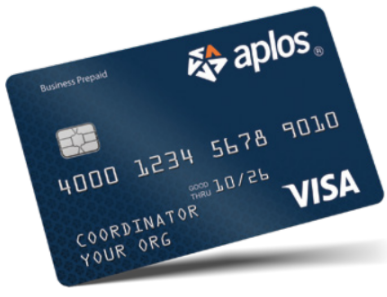
Aplos partners with PEX to provide Aplos customers who are based in the United States with Visa prepaid cards so you can give your staff and volunteers the flexibility to make authorized purchases, while maintaining the tight controls and precise records that auditors and donors demand. This means you can:
- Process fewer reimbursement checks
- Spend less time tracking down receipts
- Increase controls with fewer people utilizing your organization’s credit card or petty cash
- Empower your team to make approved purchases

Visa Prepaid Cards (P-Cards) For Aplos Customers
Prepaid Card Costs
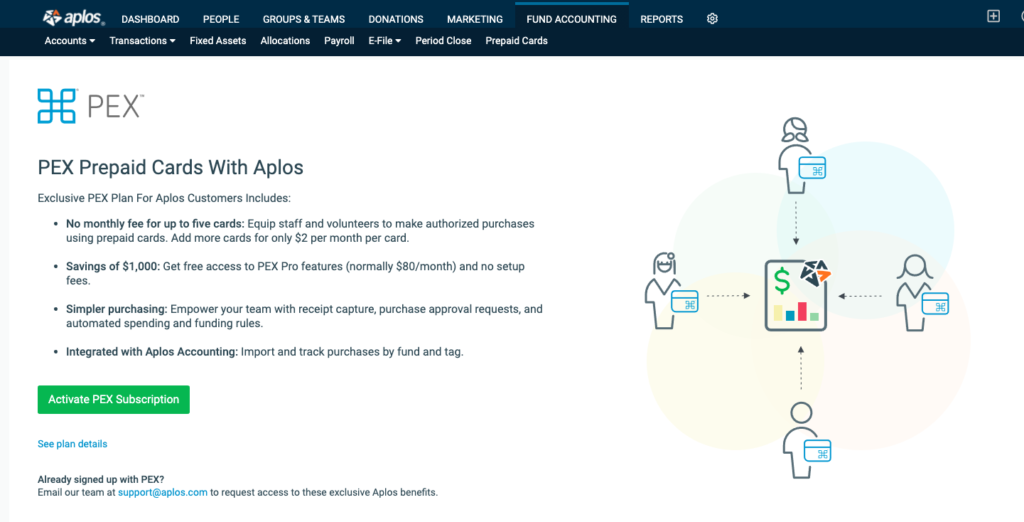
Aplos customers have access to Visa prepaid cards through PEX that includes up to 5 prepaid cards for no monthly fee, no setup fee, and upgraded PEX features (normally $80 per month).
Aplos Plan Details
- $0 per month includes up to 5 prepaid cards ($80/month value)
- $2 per month for each additional card
- No setup fee ($39.95 value)
See PEX for the full fee schedule.
PEX Features
The Aplos PEX plan includes PEX features typically included in the Pro plan:
- Receipt capture and approval
- Batch export of receipts
- PEX purchase requests for approval
- PEX notes for cardholder to send accounting code or details of purchase through mobile app
- PEX tags for fund tracking
- Automated spending and funding rules
- PEX velocity per diem spending rules
- Team/group management
- Program or department sub-accounts
- Aplos integration to import transactions by fund and tag
How Prepaid Cards (P-Cards) Work
- Give out cards. Then turn them on and off when needed.
You can give cards to any employee, contractor, or volunteer. Activate each card once you are sure that the cardholder has it. Their cards will only work where, when, and how you choose. You have the ability to fund or defund cards automatically or in real time.
- Set any spending rules or budgets in PEX.
You control how cards are used by setting the spending and funding rules for each card. Every person or role can have their own approved merchant category and spending limits.
- Your team can make authorized purchases.
Your employees, volunteers, and contractors can use their prepaid debit card to pay for items that meet your rules, and capture receipts and notes from their smart phones.
- Track spending as it happens.
PEX captures transaction details as soon as the purchase is made and reports them with your accounting codes. The cardholder can attach receipts and assign your accounting codes (like an expense account) on their phone as soon as they complete the transaction.
- Sync your PEX transactions with your accounting in Aplos.
The Aplos and PEX integration makes it faster to track purchases by account, fund, and tag directly in your accounting for easier financial reporting.
Getting Started With A PEX Account
How To Create A PEX Account
Log in to your Aplos account and visit the Prepaid Cards page under the Fund Accounting section. Then click “Activate PEX Subscription.” If you are not an Administrator, you will not have the ability to enable the PEX integration. Please reach out to your Administrator to enable it.

If you already have a PEX account that you created outside of Aplos, contact our Support Team to request to migrate to the discounted Aplos plan.
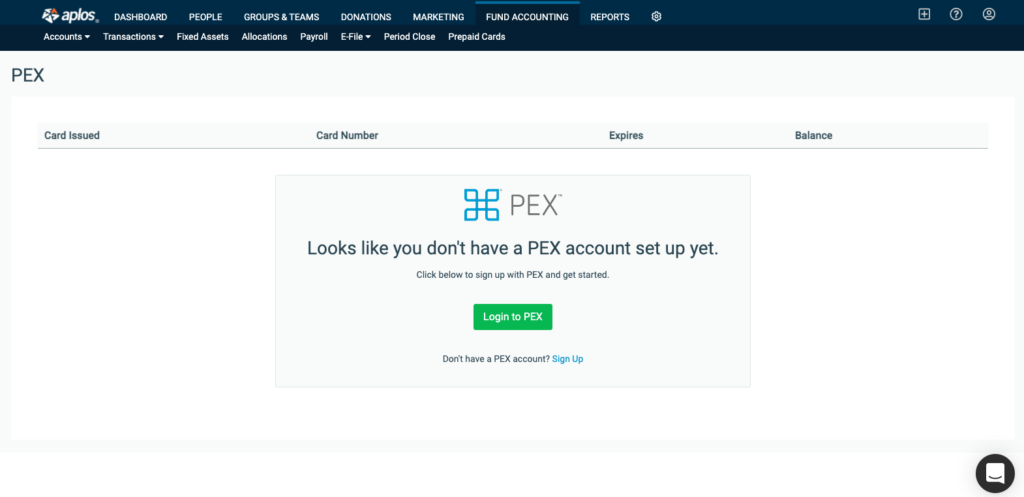
Once enabled, this will take you to the PEX page within Aplos. Click “Sign Up” to begin creating your PEX account.

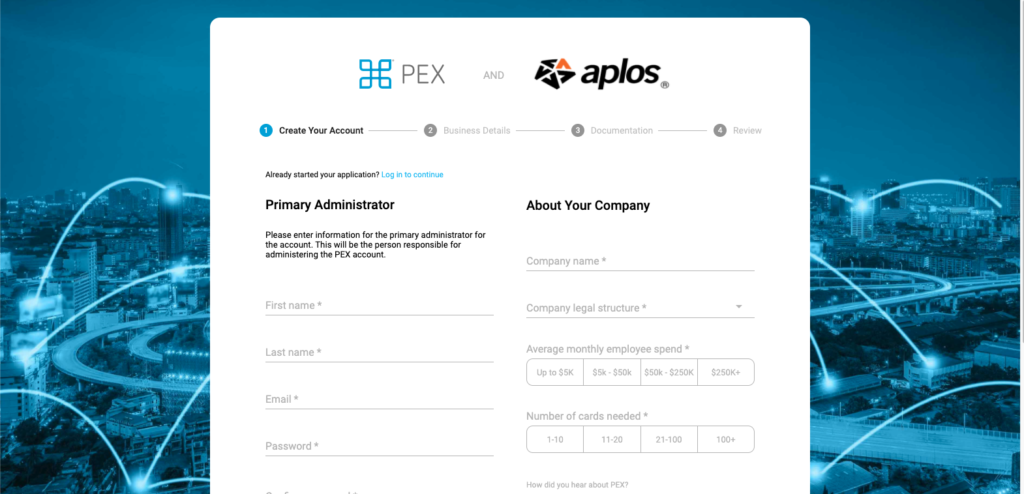
To start creating your account, enter the required information about your Primary Administrator (“signer”) and your organization. You will be required to upload a few documents to allow PEX to validate your organization. Once the account validation is complete, your administrator will receive an email from PEX with instructions for how to access the PEX Admin portal. This validation process takes approximately 1-3 business days to complete.

Once the PEX Administrator receives their credentials, log back in to Aplos. From the Prepaid Cards page, click “Login to PEX” to connect your account with Aplos so you can see your active cards and enable the PEX transaction sync with Aplos.
Ordering PEX Cards
Once your account is created, you are ready to begin ordering your PEX prepaid cards. Log in to the PEX Admin portal. Click on the Cards tab and select “Create a new card order.” The number of available card accounts is displayed. This refers to how many you can still create. Complete the online order form or use the file upload option to create a bulk order. After you’ve submitted your card order, you can check the shipping status on the Card Order History page. Don’t forget to activate the card once you’re sure your employee or volunteer has the card. Check out the PEX resource below for how to order your PEX cards.
Funding Your PEX Account
When funding your PEX account, you have three options to choose from. This will allow you to load funds to your prepaid cards for quick use for your cardholders. You can fund cards using:
- ACH Credit (bank-initiated – RECOMMENDED)
- Wire Transfer
- ACH Debit (PEX service)
For more information on each option to fund your prepaid cards, check out PEX’s funding guide to get started.
For more information about managing your PEX account, see the PEX knowledgebase.
Additional Potential Fees
Depending on your usage, you may incur additional fees on your PEX account.
See PEX for the full fee schedule.
Importing Transactions From PEX
You have the option to automatically import your PEX transactions to your accounting in Aplos. Once you have completed your enrollment into PEX, log in to the PEX Admin portal and create the tags you need to add accounting codes for PEX transactions under Business Settings – Tag Manager.
Once your PEX tags are created, go to Apps in PEX and select the Aplos Connector. Through this process, you can map your PEX tags to the correct accounts, funds, and tags in Aplos, and control which data is synced. If you would like more information about mapping your transactions using the Aplos Connector, see Sync PEX Prepaid Cards With Aplos Guide.

