You can create documents using the mail merge feature within a group or team of which you are included. The documents are stored within the group for ease of retrieval at a future time or to be used by other members.
Create a Document
1. Click the Documents icon on the navigation menu on the left.
2. Click the Mail Merge button. Click the red Administration icon and select Create document.

3. Complete the Title and Description textboxes.

4. Type the letter or other document information in the Content textbox. You can choose from any options in the Toolbox to further enhance your created document.
5. To insert mail merge features, place your cursor in the document where you need to insert the mail merge feature.
6. In the Content toolbar, click the Insert tokens button and choose an option from the drop-down menu. Continue moving your cursor and inserting mail merge tokens as needed.

The website provides the following options:
- First Name
- Last Name
- Street
- City
- State
- Postal Code
- Country
- Full Address
7. Click the Save button.
View a Document
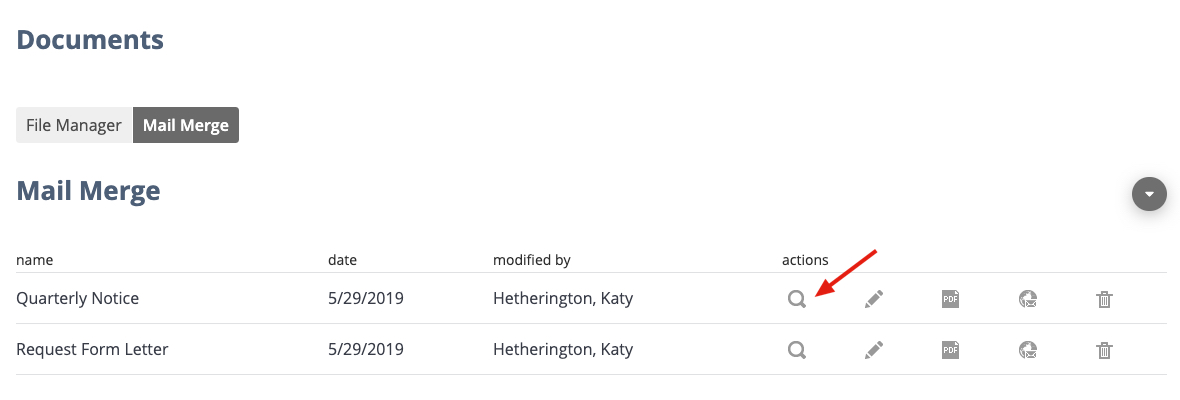
In the grid, locate the document to view, then click the magnifying glass icon to view the document.
Edit a Document
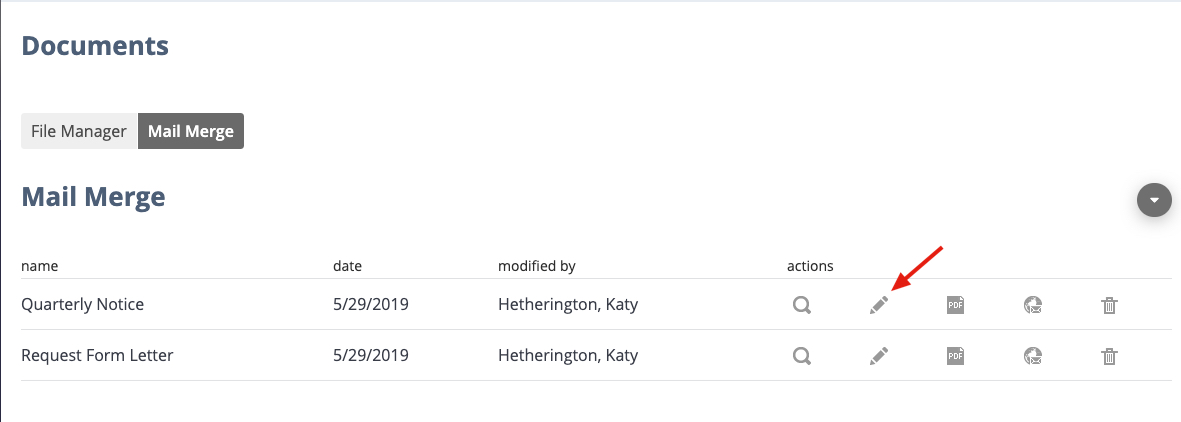
In the grid, locate the document to view, then click the click the pencil icon.
3. Edit Title, Description, and Content as needed.

4. Once finished, click the Save button for changes to be updated.
Print a Document
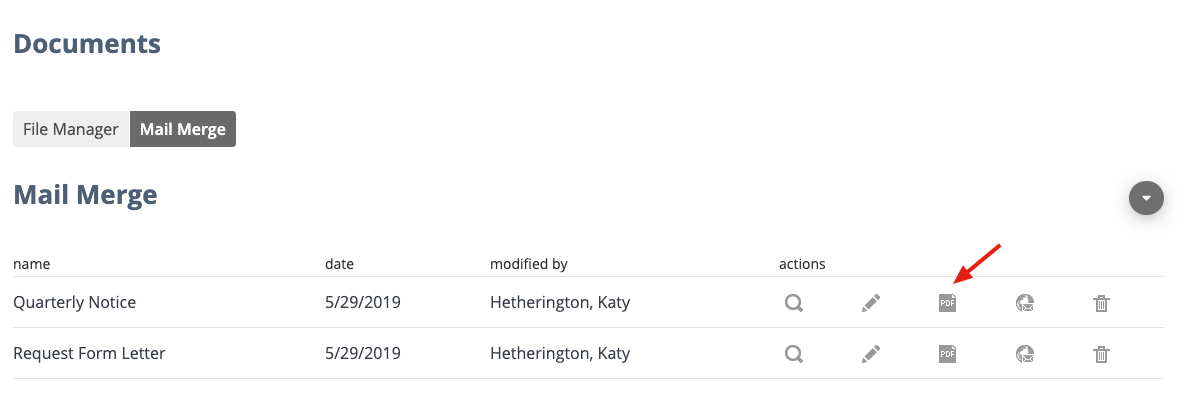
In the grid, locate the document to view, then click the PDF icon to generate and download a PDF copy of the document.
Email a Document
1. In the grid, locate the document to view, then click the Email icon to send the document via email.

2. On the next screen you’ll enter the subject (1), enter the recipient(s) (2), add any content for the body of the email (3), and then click send (4).
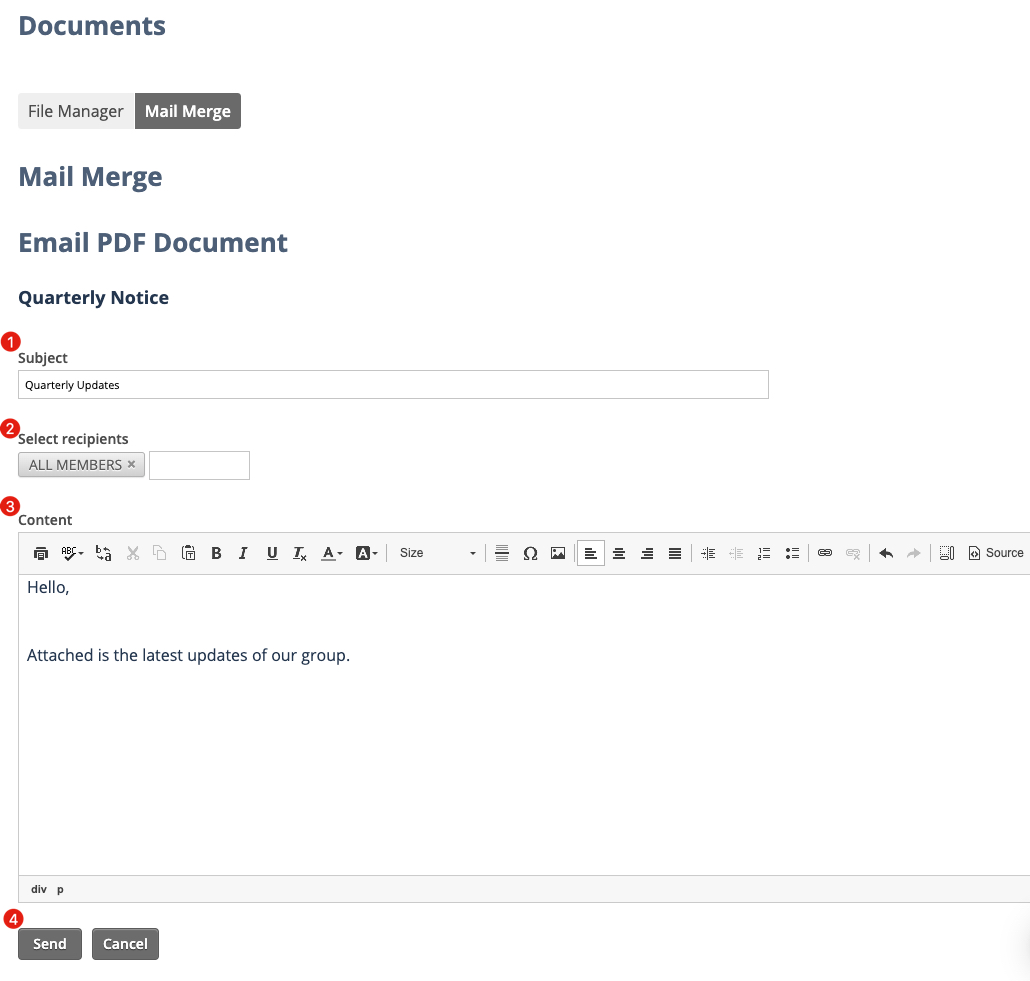
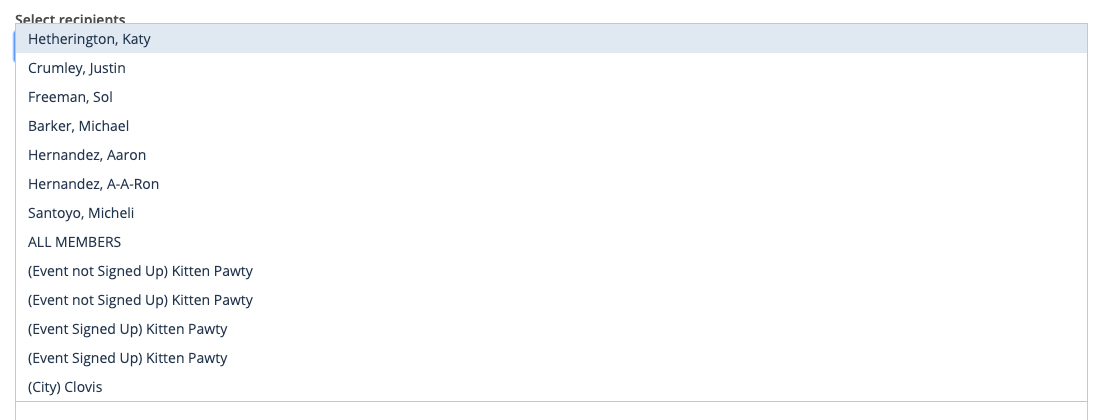
When selecting Recipients, you can either begin typing the name of the intended recipient to select them from the list or press the spacebar on your keyboard to view a list of available options.
Delete a Document
In the grid, locate the document to be deleted, then click the trash icon.

3. Remove document by clicking the Delete button in the Delete confirmation window.


