Contact Tags are a way for your organization to track additional details for the contacts within your database. For example, you can add a tag to track information such as children within a certain school grade, or those who have attended a particular Event for your organization.
Create/Manage Tags
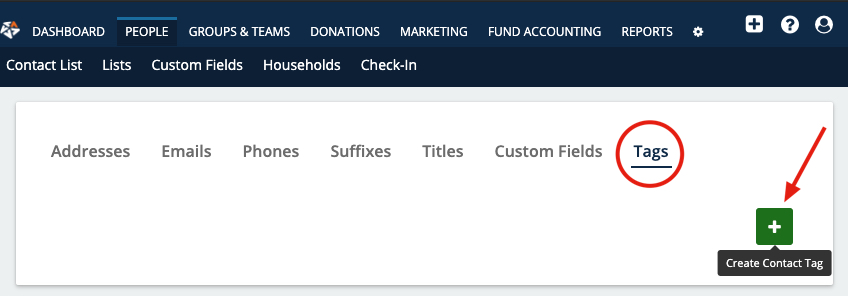
To begin this process, you will want to go to the Custom Fields area under the People tab on your navigation menu (See below):

From there, you’ll see a green square with a plus-mark icon which will allow you to add a new Tag on the right hand side of the page:
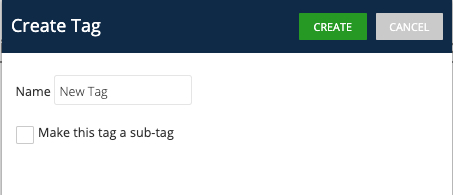
The screen that appears will prompt you to enter the Name/Title for this new Tag, as well as, clarify if you’d like to make this a sub-tag:
If successful, you will see this tag available on the main Tags screen (sub-tags will be nested under the parent tag):
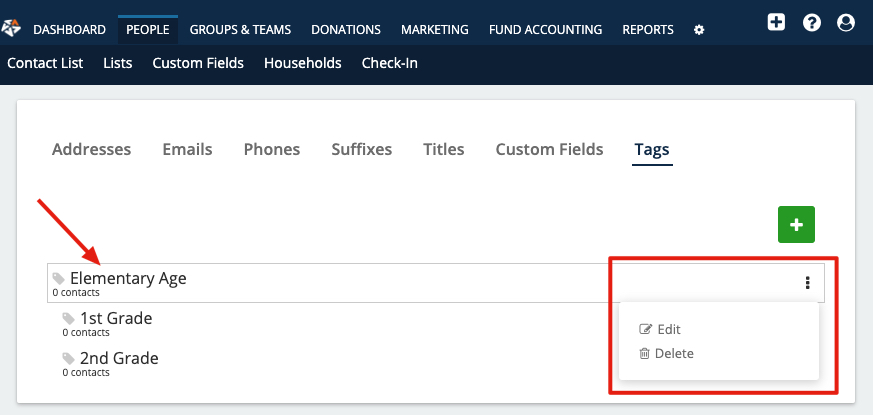
If you ever need to Edit or Delete a Tag, you can accomplish this by clicking on the ellipsis to the right of the Tag name (see above).
Applying Tags
Once created, you can begin applying your Contact Tags to applicable contacts in your Contact List.
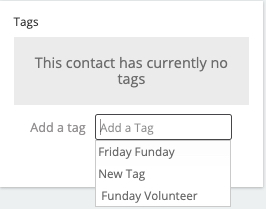
When viewing the details for your contact, you’ll see an area on the left-hand side of the screen, where you can apply/manage these tags. In this area, you will want to select which tag you’d like to be applied for the contact (or add a new tag on the spot). Once applied, this tag will be listed under the “Tags” title in this section:
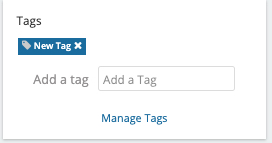
You can also keep track of how many contacts have a certain tag applied from the main Contact Tags screen: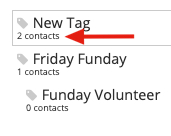
Contact Tags & Check-In Events
When creating your Check-In Event (refer Here for those steps), you’ll notice that at the point of adding Rooms/Classes, there is a field available for Attendee Tags. This field is where you can associate a Contact Tag with a particular room for your event.
Once this association is in place, any contact marked with that particular tag will have their room automatically filled in when checking-in for an event.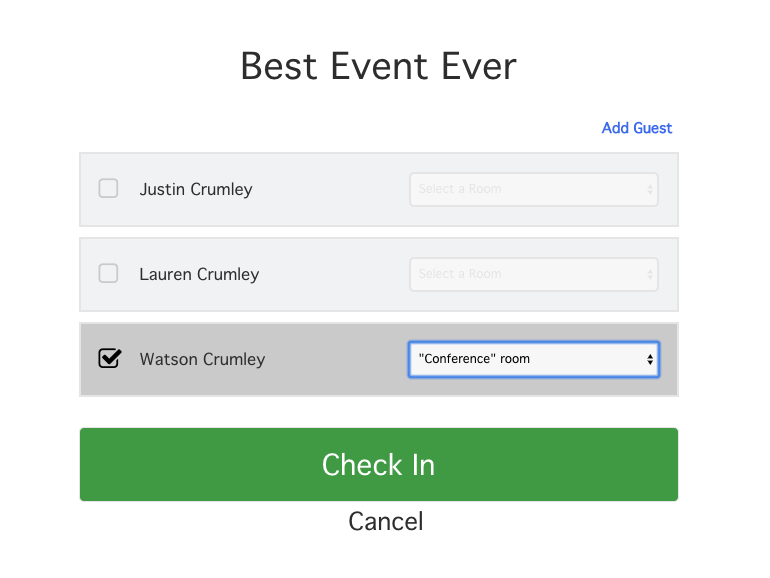
If you have any additional questions about this feature, or anything else, please feel free to reach out to our Support Team. We’re happy to help!

